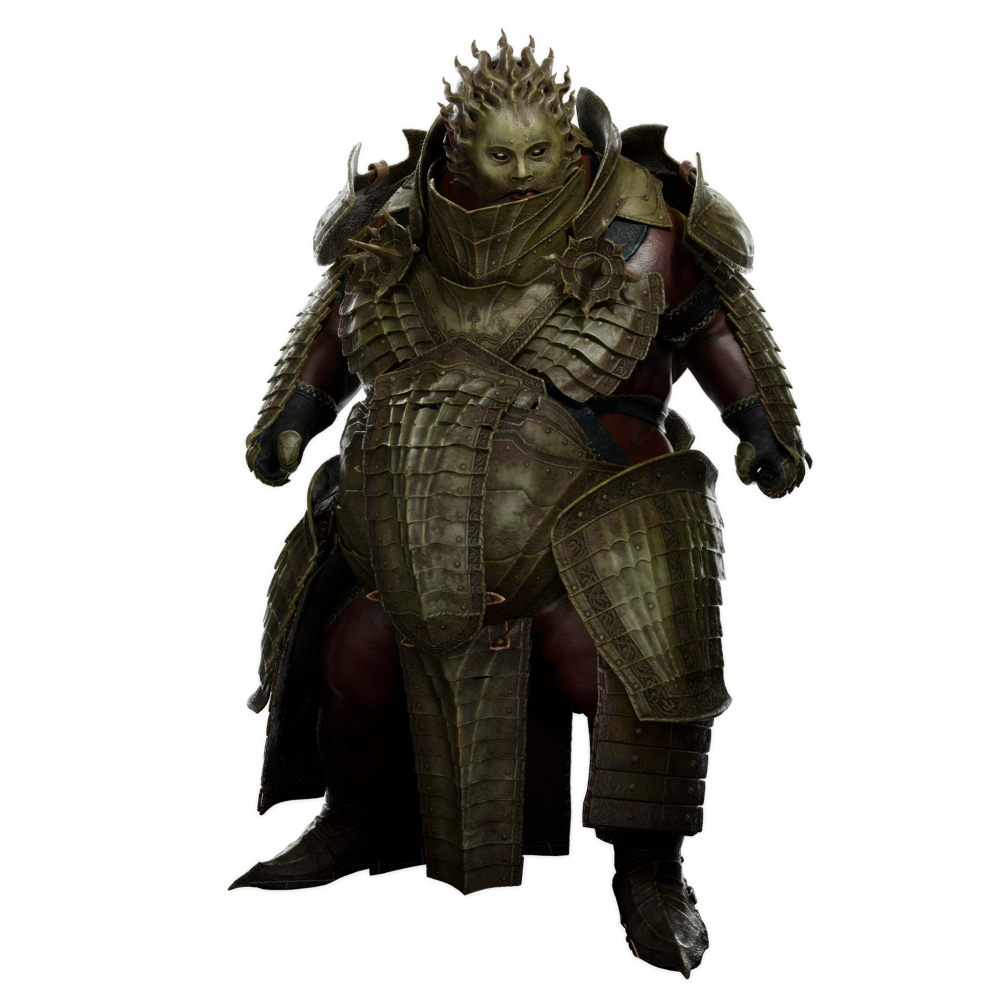

Lazlo
| Epithet | The Justiciar | ||
|---|---|---|---|
| Max Shell Health | 120 | ||
| Max Resolve | 100 | ||
| Bleed Res. | 9 | ||
| Frost Res. | 8 | ||
| Shock Res. | 8 | ||
| Curse Res. | 7 | ||
Lazlo won't be found until later in the game, located inside High Lord's Keep west of the High Lord's Courtyard Beacon in Mammon.
He has the highest Health of all Shells, has damage reduction as long as his Armor is on, and deals increased damage as he uses his Retribution Ability.
Compared with other Shells, Lazlo inflicts and benefits from Burn, though he doesn't need to use a weapon that can be infused with Burn.
“Justice is not given, it is exacted.”
Acquisition
- Shell recruitment site (High Lord's Keep). See the map.
Abilities
| Ability | Type | Cost | Cooldown | Effect | |
|---|---|---|---|---|---|
 | Fortified Plate | Passive | - | - | Lazlo has a base 10% damage reduction as long as his armor is on. |
 | Retribution | Active | 25 | 15 | Lazlo heats his armor, unleashing a Shockwave. Repeated use causes Overheat, triggering a stronger shockwave that inflicts Burn stacks but temporarily disables his armor. |
Shell Abilities
Shell Abilities are improved with Shell Points. Nodes require a matching Bond Tier unlock before they can be purchased. Shell Point costs follow level N = N Shell Points (e.g. 1 / 2 / 3).
Bond Tier 1
Worthy Armor
Each level reduces the Resolve cost of Lazlo's Retribution
Shell Point cost: 1 / 2 / 3
| Level | Effect |
|---|---|
| Level 1 | Retribution costs 80% less Resolve |
| Level 2 | Retribution costs 70% less Resolve |
| Level 3 | Retribution costs 60% less Resolve |
Warmed Up
Lazlo gets stronger as the Heat Meter increases
Shell Point cost: 1 / 2 / 3
| Level | Effect |
|---|---|
| Level 1 | Lazlo deals up to 30% more damage |
| Level 2 | Lazlo gains up to 35% more Resolve from melee attacks |
| Level 3 | Lazlo's armor provides up to 10% more damage reduction |
Bond Tier 2
Temperament
Each level improves Lazlo's Retribution
Shell Point cost: 1 / 2 / 3 / 4
| Level | Effect |
|---|---|
| Level 1 | Unleashed shockwaves deal 130% damage |
| Level 2 | Unleashed shockwaves deal 160% damage |
| Level 3 | Unleashed shockwaves cover a much larger radius |
| Level 4 | Overheated shockwaves ignite the ground for 5s |
Adaptation
Each level reduces Lazlo's Armor cooldown duration
Shell Point cost: 1 / 2 / 3
| Level | Effect |
|---|---|
| Level 1 | Armor cooldown reduced by -2s |
| Level 2 | Armor cooldown reduced by -3s |
| Level 3 | Armor cooldown reduced by -4s |
Incandescence
When Lazlo's Armor comes off cooldown:
Shell Point cost: 1 / 2 / 3
| Level | Effect |
|---|---|
| Level 1 | Lazlo's Heat Meter fills by 20% |
| Level 2 | Lazlo's Heat Meter fills by 35% |
| Level 3 | Lazlo's Heat Meter fills by 50% |
Bond Tier 3
Breaker
Each level improves Lazlo's Retribution
Shell Point cost: 1 / 2 / 3
| Level | Effect |
|---|---|
| Level 1 | Unleashed shockwaves deal 15 Break Damage |
| Level 2 | Unleashed shockwaves deal 20 Break Damage |
| Level 3 | Overheated shockwaves have 15% chance to instantly Break enemies |
Furnace
As long as Lazlo's Heat Meter is full:
Shell Point cost: 1 / 2 / 3
| Level | Effect |
|---|---|
| Level 1 | Enemies suffer from 2 Burn stacks when striking Lazlo |
| Level 2 | Damage reduction increases by +10% |
| Level 3 | Lazlo has 50% chance to surive a fatal blow |
Detonation
When Lazlo is severed from the Harbinger:
Shell Point cost: 1 / 2 / 3
| Level | Effect |
|---|---|
| Level 1 | Lazlo's Armor unleashes one last shockwave that deals 120 damage |
| Level 2 | The shockwave ignites the ground for 12s |
| Level 3 | The shockwave covers +150% the radius |
Bond Tier 4
Rush
When Lazlo's Armor goes on cooldown:
Shell Point cost: 1 / 2 / 3 / 4
| Level | Effect |
|---|---|
| Level 1 | Lazlo gains 10 Warp stacks |
| Level 2 | Lazlo gains 20 Warp stacks |
| Level 3 | Lazlo has +15% Critical Hit chance |
| Level 4 | Lazlo has +20% Critical Hit chance |
Gallery


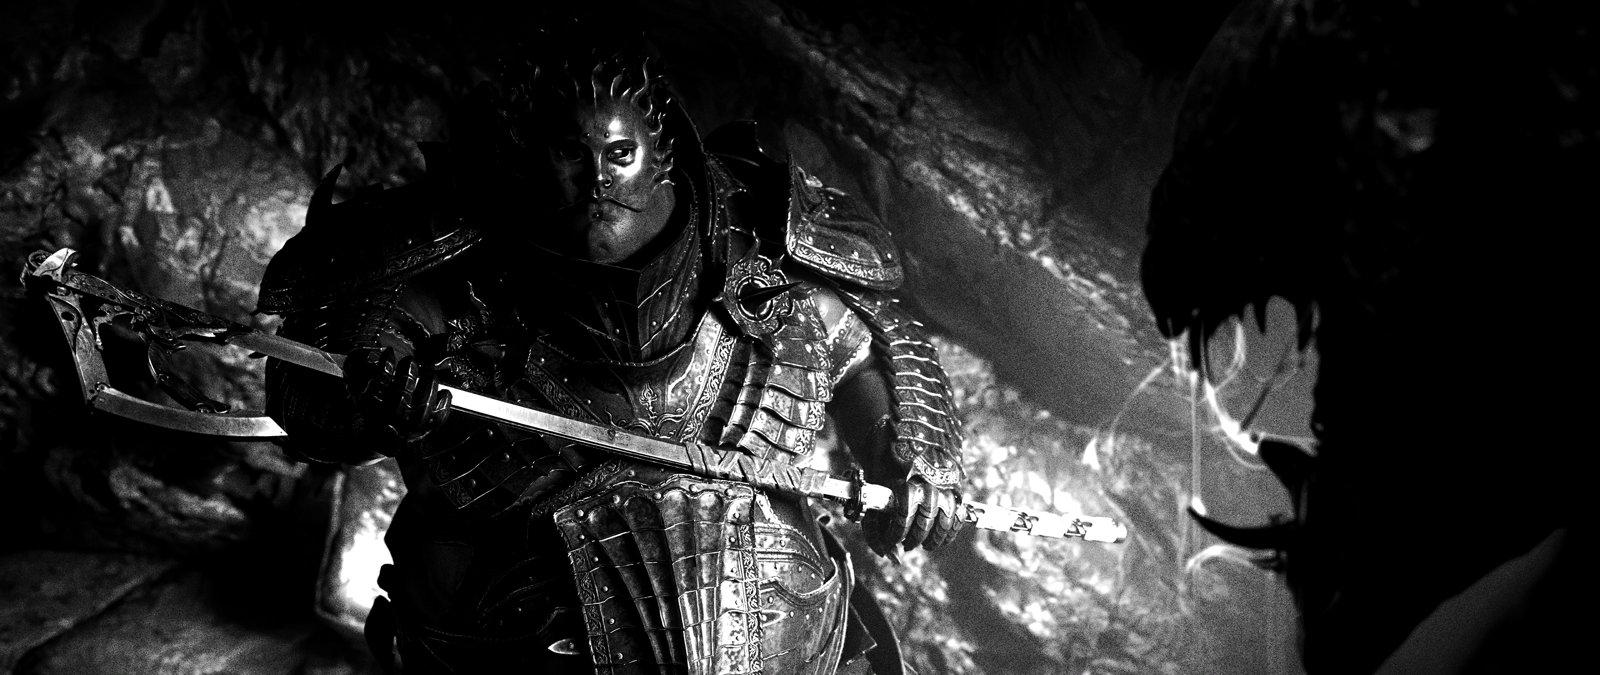

Model Gallery