

13 support tarstones. Support Tarstones have four slots, and there are no restrictions: every Shell and every weapon can use every Support Tarstone. If you swap Shells or weapons, the Support stones you already found stay equipped and carry over. Every Support Tarstone falls under the menu's Support header.
| Name | Effect | Compatible Weapons | |
|---|---|---|---|
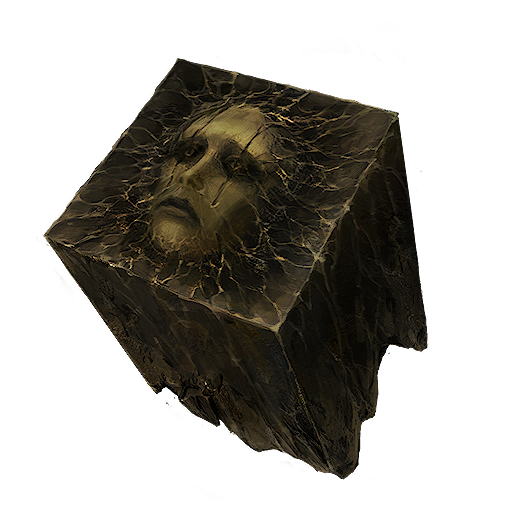 | Auspicious Stone | Improves melee Critical Chance | All Shells |
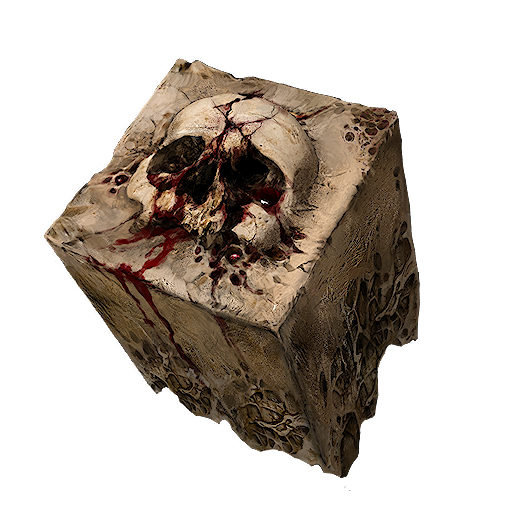 | Headsman's Stone | Improves melee Critical Damage | All Shells |
 | Devout Stone | Killing an enemy with your Sidearm: Generates 7 Resolve | All Shells |
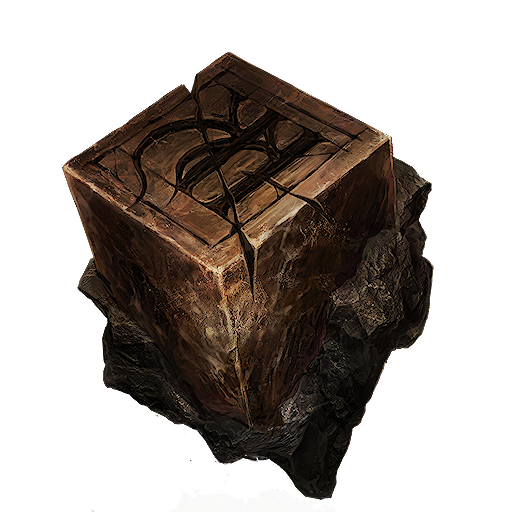 | Shattering Stone | On killing an enemy: The next melee attack deals +120% Stagger Damage | All Shells |
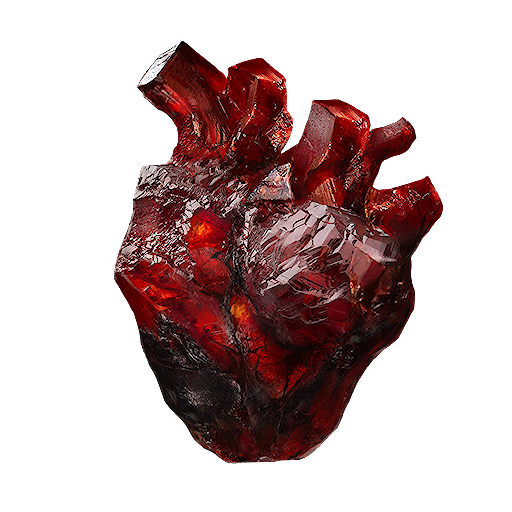 | Berserker's Stone | Improves melee damage the lower your Health is | All Shells |
 | Marksman's Stone | Improves ranged Critical Chance | All Shells |
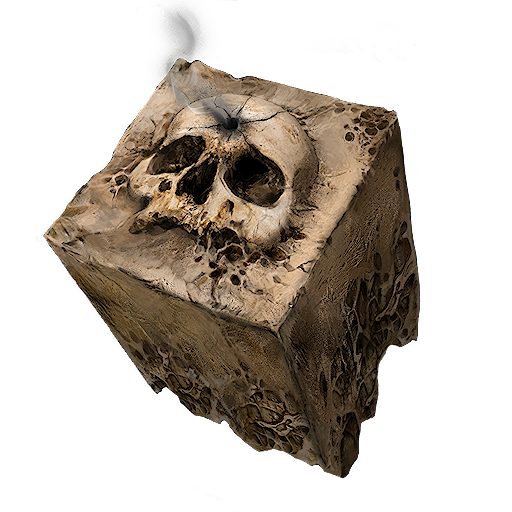 | Deadeye Stone | Improves ranged Critical Damage | All Shells |
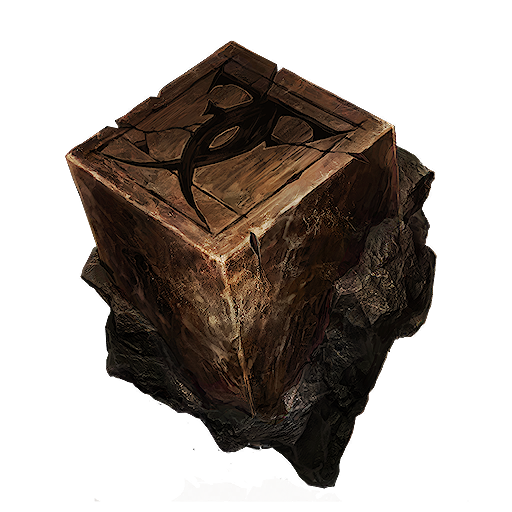 | Siegebreaker's Stone | Improves ranged Stagger Damage | All Shells |
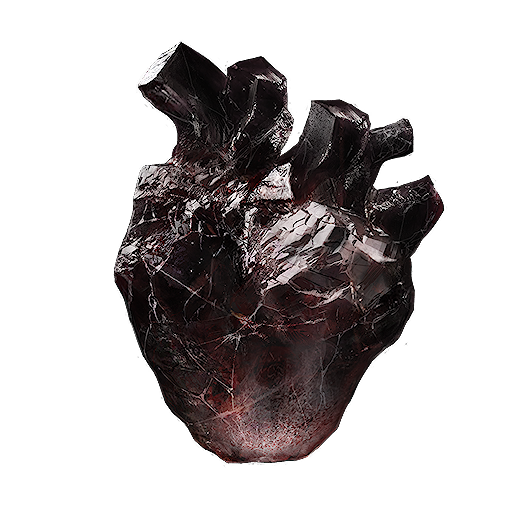 | Spite Stone | Improves ranged damage the lower your Health is | All Shells |
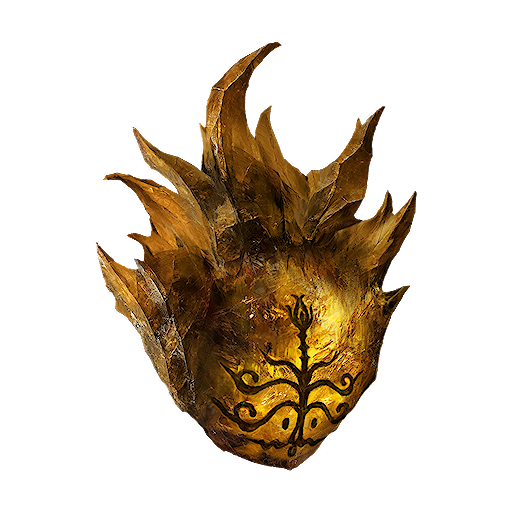 | Bulwark Stone | On killing an enemy: Gain +10% Damage Reduction for the next 2s | All Shells |
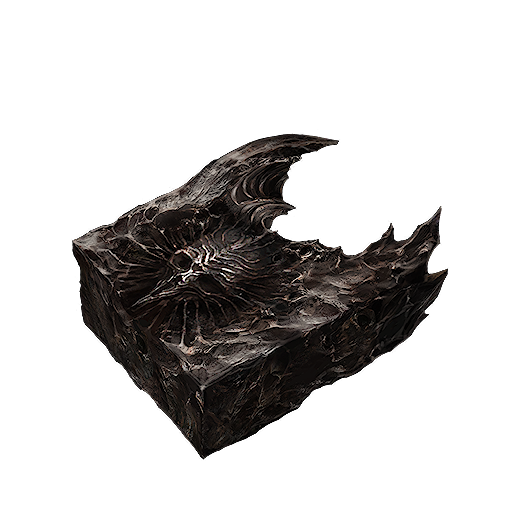 | Retribution Stone | Improves Riposte damage | All Shells |
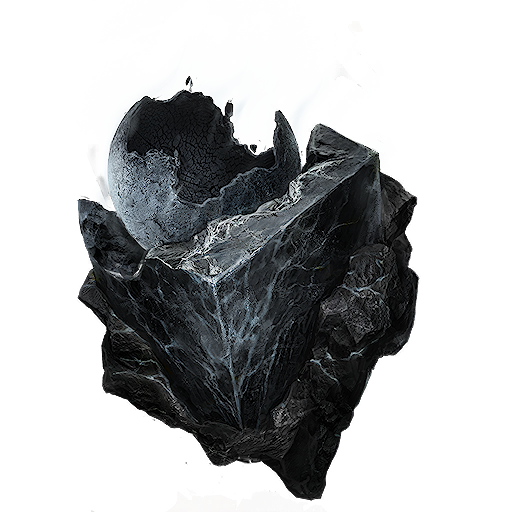 | Gloombound Stone | Slain foes drop more Gloom | All Shells |
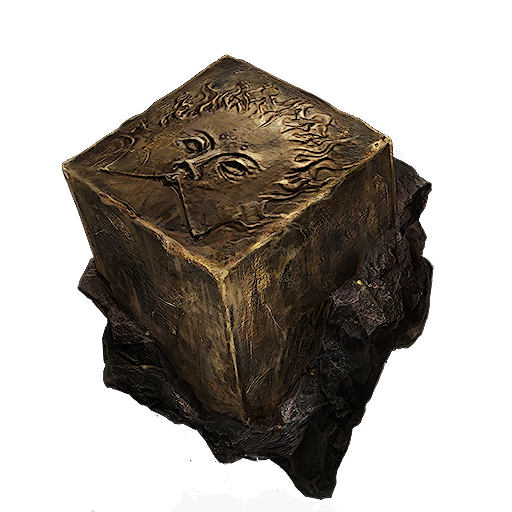 | Justiciar's Stone | Slain foes drop more Coin | All Shells |
See the Tarstones overview for the full roster in menu order, and for how slotting and Glimpse costs work.